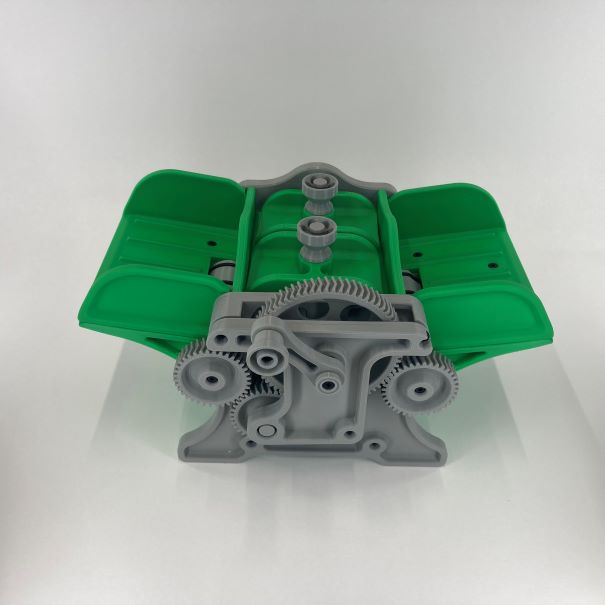
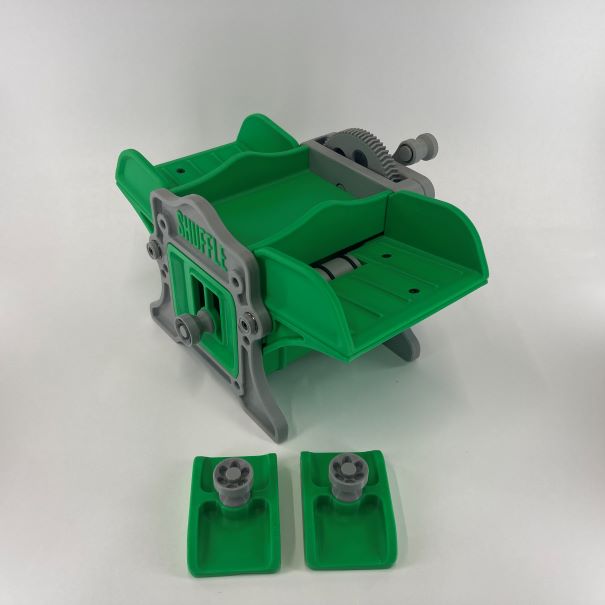
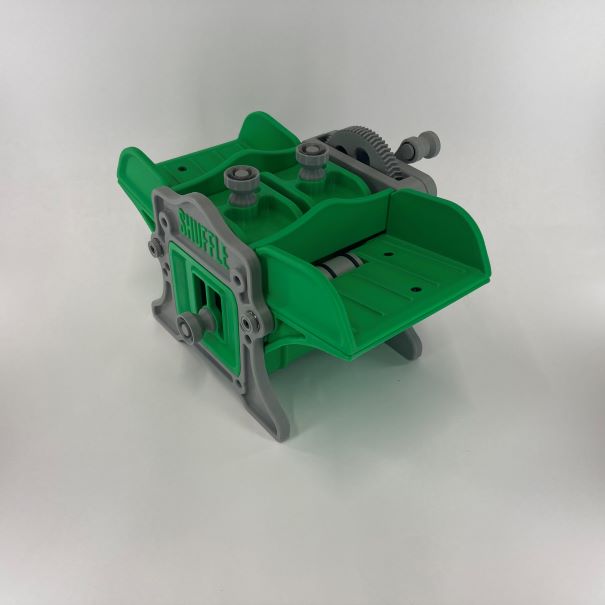
Here’s a more maker-style description of Josh-3D’s Card Shuffler (from MakerWorld), with notes and inspirations that might help you understand how it’s built or tweak your own version:
Card Shuffler — Maker Notes & Build Narrative
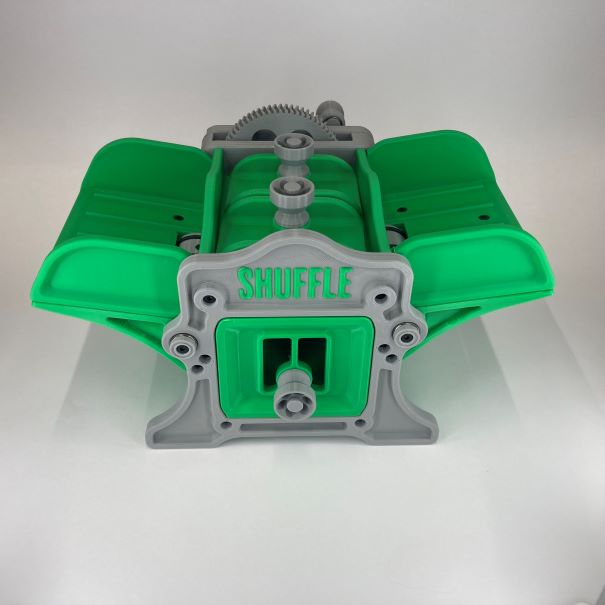
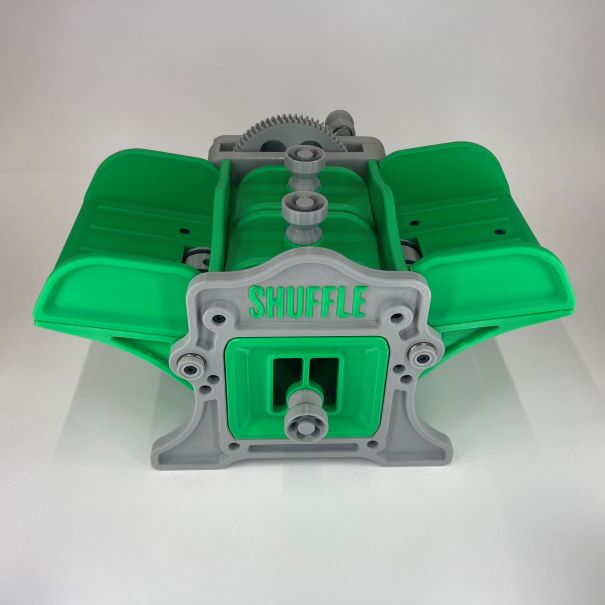
This is a 3D-printable, hand-operated card shuffler designed by Josh-3D, inspired by old printing presses and industrial cast-iron machinery aesthetics. (MakerWorld)
What It Is
A mechanical device for shuffling playing cards (standard size + sleeves) without pulling them by hand. (MakerWorld)
It uses gears, drums (rollers), shafts, bearings, and a crank. You load cards into trays, turn the crank, and the internal mechanism mixes them. (MakerWorld)
Built with careful tolerancing so parts move well, don't bind, and can handle a decent stack of sleeved cards. (MakerWorld)
Key Features & Specs
Three tolerance variants: “tight”, “medium”, and “loose”, to accommodate differences in printers / settings. The designer recommends Medium as a good starting point. (MakerWorld)
Versions: Standard and Tall. The Tall version handles more cards (roughly 120 sleeved, maybe up to ~140). The standard can do a full Skip-Bo deck (~160 cards) in an unsleeved form; with sleeves somewhere in the 80-card range reliably. (MakerWorld)
Mechanics: Upgraded from TPU rollers to using O-rings for better grip and durability. Bearings are used on shafts and gear pegs to reduce friction. Shaft and gear redesigns improved strength (e.g. shaft printed in better orientation). (MakerWorld)
Materials & Hardware
Filament: PLA (many colors used), PETG-CF for some color / strength variants. (MakerWorld)
Screws: M2.6×8mm self-tapping screws for securing plates etc. (MakerWorld)
O-rings (OD 24×2.5mm) in place of or to upgrade rollers. (MakerWorld)
Build & Assembly Insights
Print orientation & strength: Some parts (like gear shafts) are prone to breaking if they’re printed with weak orientation or insufficient infill/wall thickness. The newer design splits out shaft & gear pieces to allow stronger printing. (MakerWorld)
Fit & tolerances: Because different 3D printers differ (stepper precision, calibration, filament tolerance), using the medium tolerance first and testing is wise. If there's binding or too much looseness, try tight/loose variants. (MakerWorld)
Assembly order: It helps to assemble in stages — side plates, card trays, drums, bearings & shafts, then gear train & crank. Make sure you don’t overtighten screws near bearings/gears (they need a little clearance to rotate freely). (MakerWorld)
Troubleshooting:
If cards don’t fall or shift properly, gently jiggle or shift the frame slightly so gravity helps them settle. (MakerWorld)
Slight jams are reported sometimes, usually mitigated by consistent crank speed and ensuring all rotating parts are well aligned.
Upgrading the rollers / grip (e.g. via O-rings) improved performance in many cases. (MakerWorld)
Aesthetic & Design Philosophy
The designer wanted more than just functionality — wanted something with character, something that feels “built” rather than just “printed”. The inspirations include old printing press frames, cast iron machinery, and boiler‐like forms. (MakerWorld)
Appearance is emphasized: color choices, contrast between mechanical parts and the frame, visible gear work. Many makers show off multi-filament color-schemes. (MakerWorld)
What You Could Tweak / Customize
Motorization: Some community members (and the designer) have considered or attempted motor upgrades. If you want automatic crank operation, torque & gearing would have to be re-evaluated. (MakerWorld)
Size: You could scale or alter card capacity (for thinner / thicker cards, double sleeves, etc.).
Tray / retention modifications: adding a mechanism (magnets or latches) to keep card trays from slipping, or guard plates to ensure cards feed more reliably.
Material swaps: maybe stronger or more flexible materials where stress is high (e.g. in gears, shafts). Using PETG/ABS for wear parts might help.
Filament finish: using metallic or textured filaments for aesthetic contrast (gears vs frame), or finishing touches (sanding, painting) to give it that industrial/antique look.